Part 2 of 4
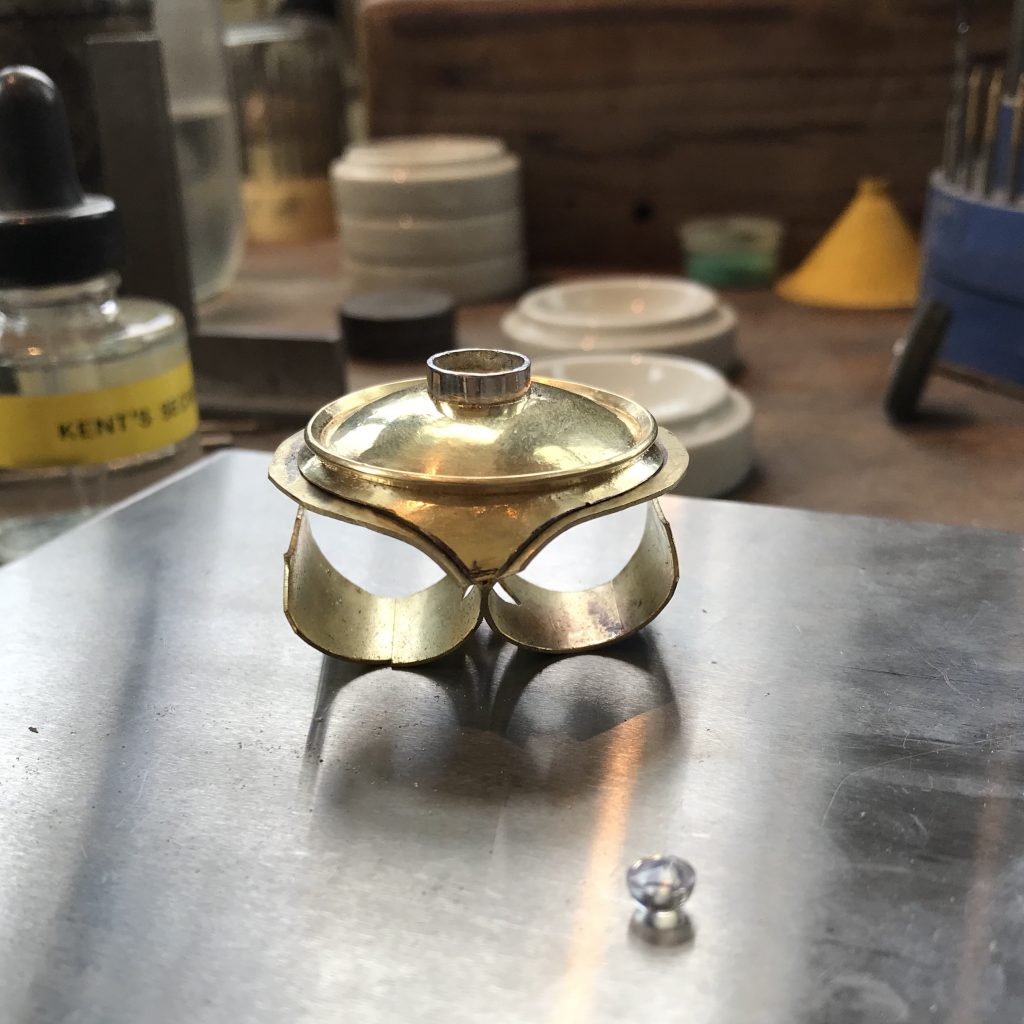
Continuing on, I made platinum settings for both the pearl and the diamond settings, and a gold tube to make seats for the pearls.
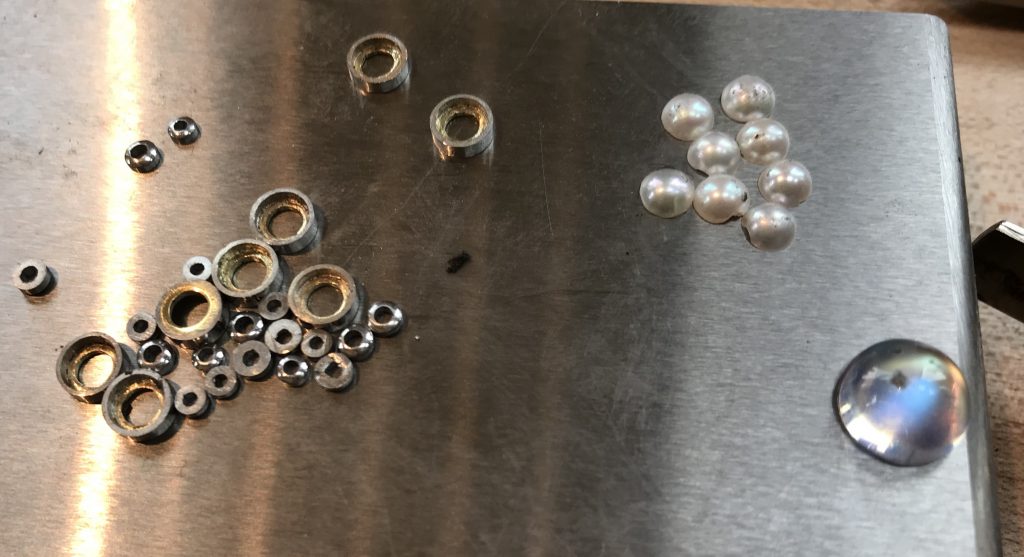
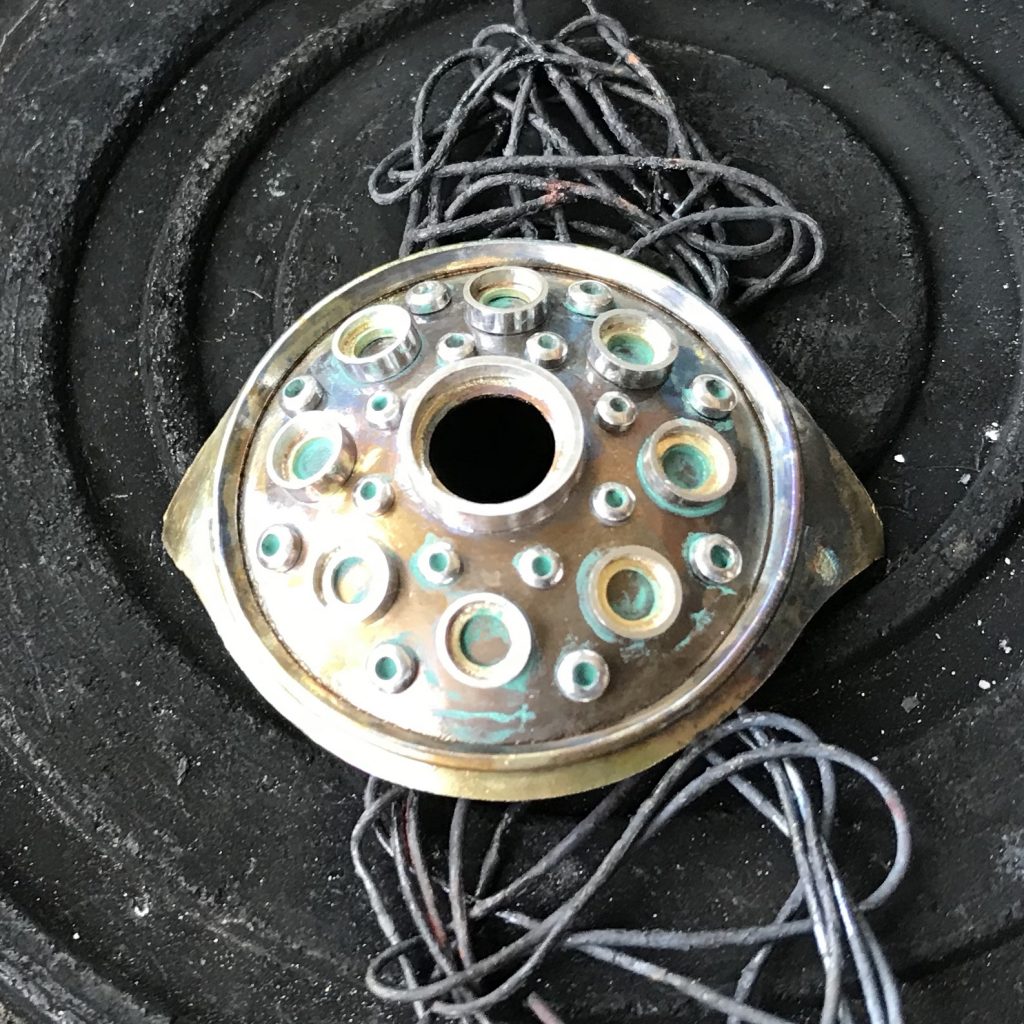
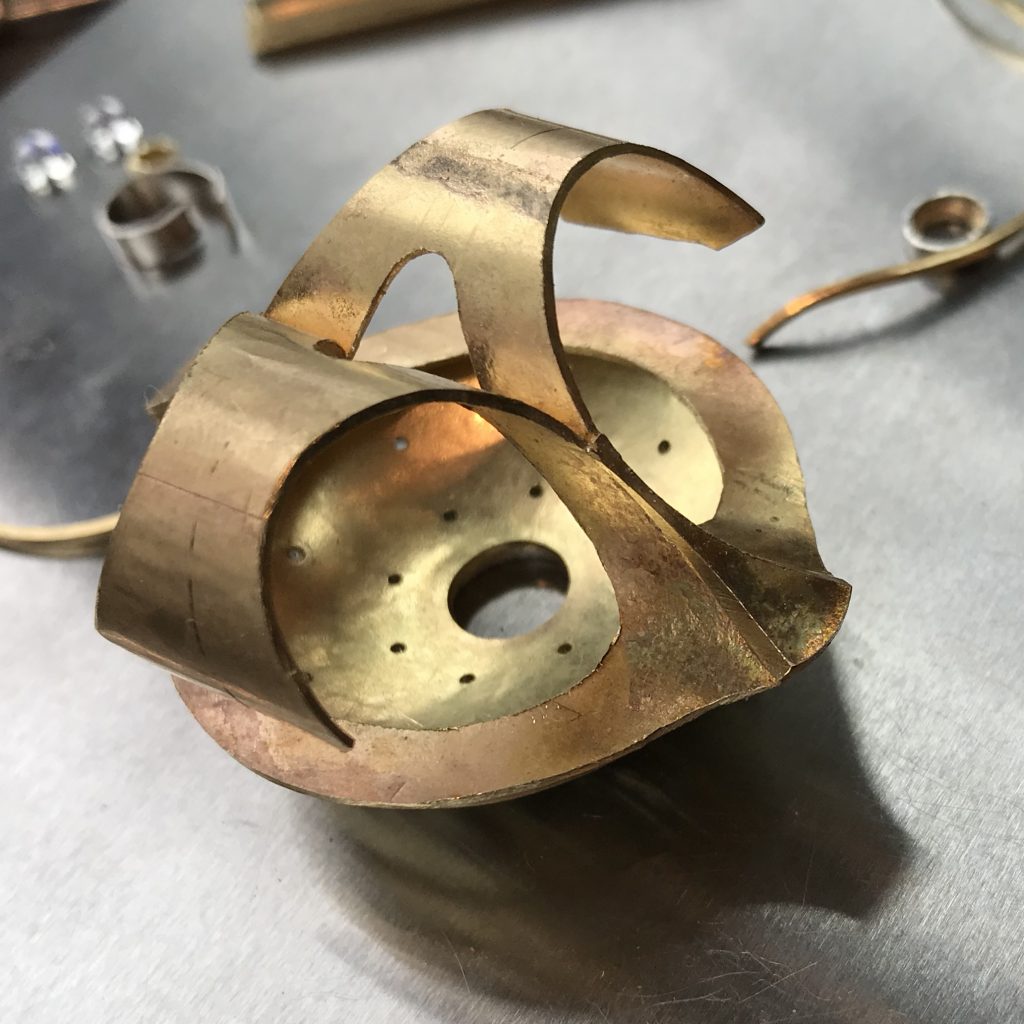
Once all the bezels were sliced, seated and finished, I arranged them in place on the dome, and attached them. Then I placed the dome over the double cylinder structure……
That was when the unexpected started to happen……..
Because I had no real plan, I had to make it up as I went along! First, I removed some of the metal around the dome border, but let the metal continue down where the two rings met. This created an eye-like form, with the points bending down into the crevices between the rings! Unplanned cool forms often show up when I work this way.
Next I started working on the forms of the double ring. By cutting the two ring cylinders at the sides, I could bend the metal out flat under the sides of the big dot, leaving open gaps at the outside of both cylinders.
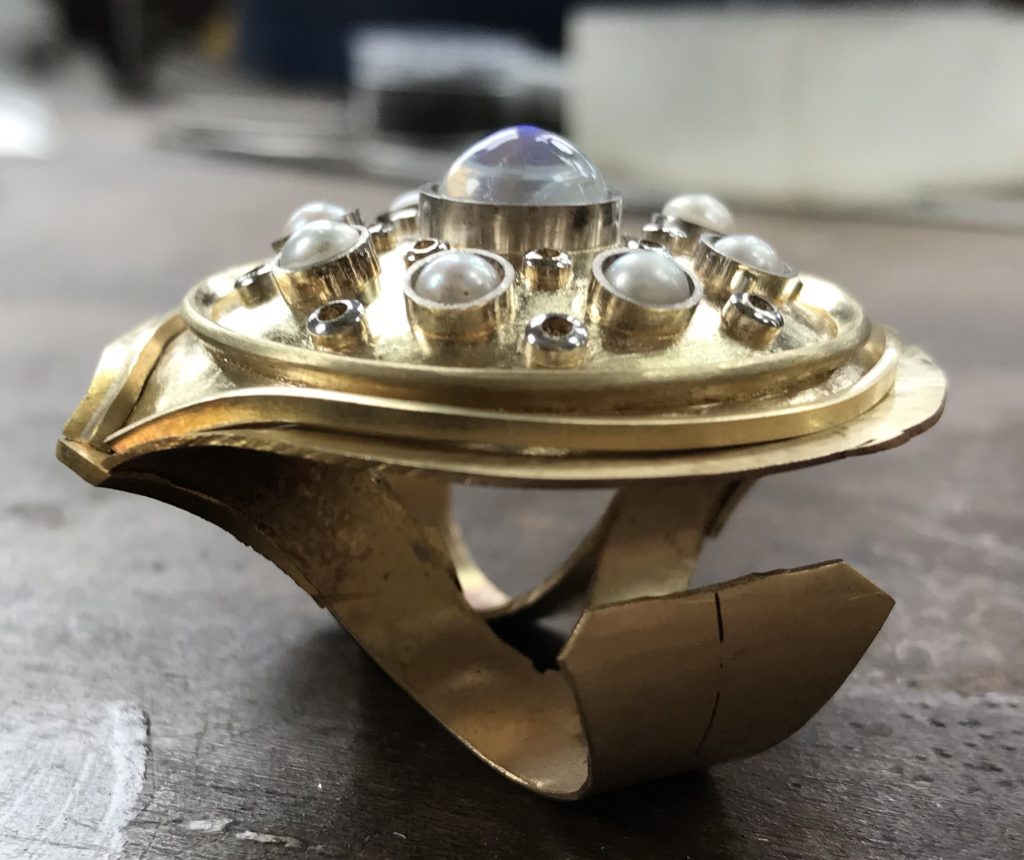
Then, as I removed metal from the points at the top down toward the back side of the two rings, some very nice lines started to appear, which I was totally not expecting!
It’s at times like this I get really excited, because the beauty seems to come of its own will, and I get to witness its unfolding.
Ready to see what happens next in Kent’s journey of creating ‘Moonstone Mandala? YES! Take me there!
Check out available works from the Kent Raible ‘Masterworks’ collection here!

I just completed a stone setting class with Blain Lewis. I’ve been away from my bench for a while and am fairly new to all of this. Feeling a little out of my element. Reading this and seeing your work has so inspired me. I’m starting this journey at an older age (not old age😂). I truly appreciate reading your detailed descriptions and am ready to throw myself into this. So wanting to work with gold but not ready.
Your work ( or is it play?) is magnificent. I will one day be ready to sign up for your workshop for sure. Thank you again for sharing all this!!!
Thank you Meredith! Very nice to hear that you are enjoying our blog posts, we appreciate you letting us know! Glad to hear you are throwing yourself into jewelry making, it is a wonderful world! So much to apply yourself to and so many wonderful ways to learn these days! In our mentored online classes we work in silver, just so you know. In my granulation, solderless fusing and advanced fabrication classes I teach in my in-person workshops, we work in 18 karat gold. Hope to see you in one of our classes, and wish you great success in advancing your skills!
My daughter in law , Lusine Martirosyan , signed up for your class that was just cancelled.
An Armenian by birth she has dreamed of creating pieces like yours…they are exquisite and look historical to her. She and her husband moved to Seattle In January which has been most challenging….as you can imagine. Creating beauty is a joy . Is there any possibility of her studying with you?
When you describe how you feel as you create and fabricate, I know those feelings! Wish I could express them in the way that YOU do, but I understand the absolute need to do this. Looking at your jewelry makes me cry, just like I do at the ballet. Thank you for sharing your work with us, and your talent!!!!!
All I can say is, I have never looked at one of Kent’s creations and not thought, WOW!