Part two of four
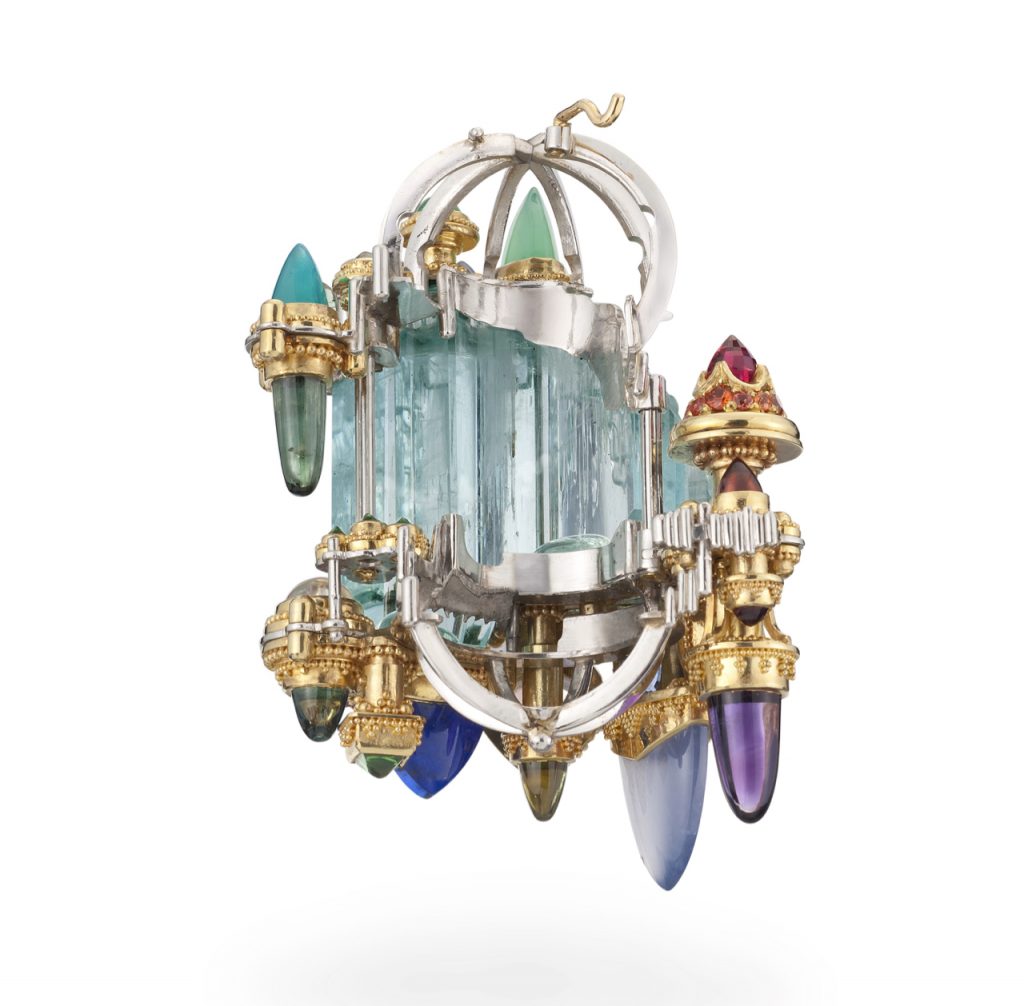
What did I get myself into?
With the prayer wheel finished, the next major hurdle would be to create the caps for both top and bottom of the crystal, and the cage structure for attaching the prayer wheel. I wanted the metal of the caps holding the aquamarine crystal and the wheel to be white and as visually minimal as possible, so as not to interfere with the blue color of the stone, and structurally strong while being delicate, so I chose platinum.
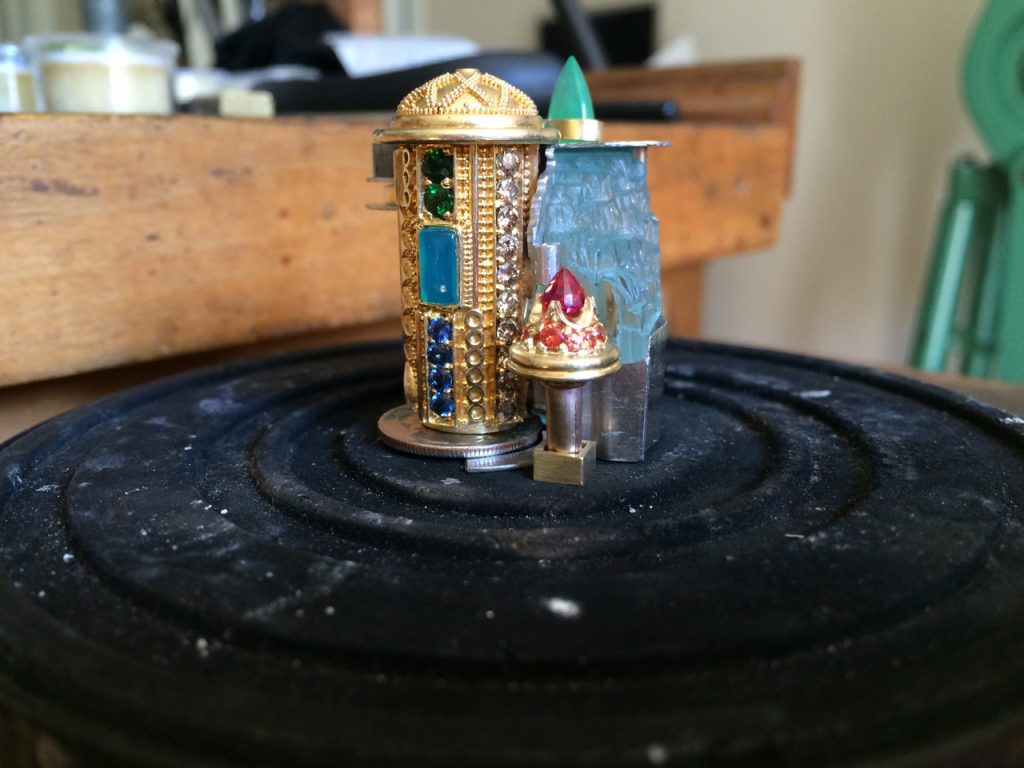
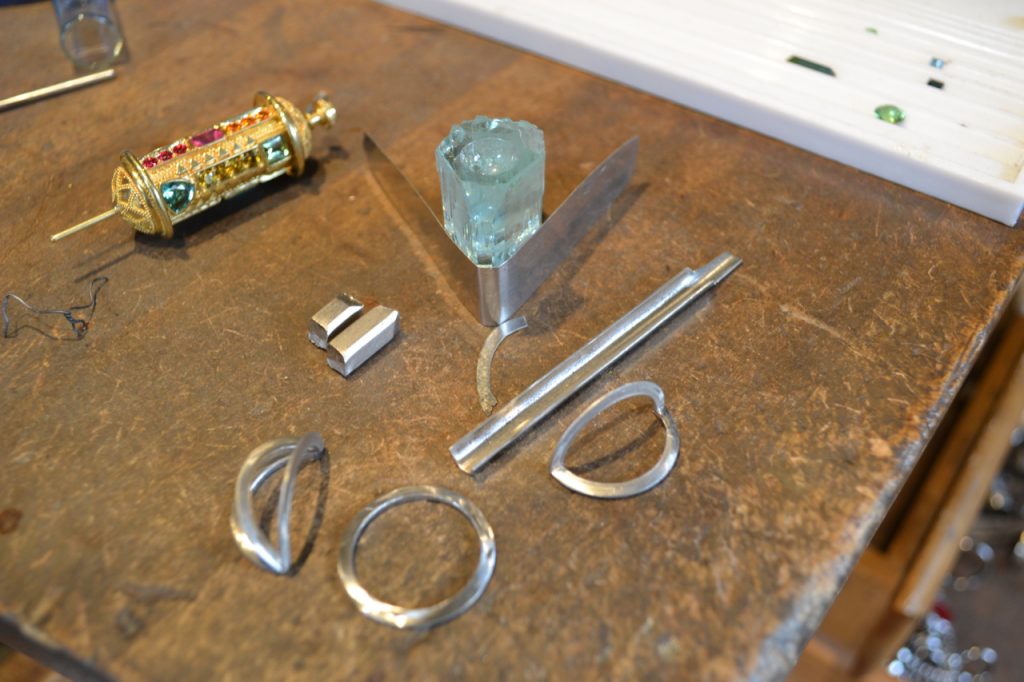
The challenges of creating these cap ends were obvious right off the bat: fitting edges that were totally uneven and stepped, and different from top to bottom, while keeping the “waterfall” area that Glenn Lehrer had fashioned exposed and visible, and maintaining vertical lines while also creating horizontal structures that were consistently perpendicular to the vertical facets of the crystal.
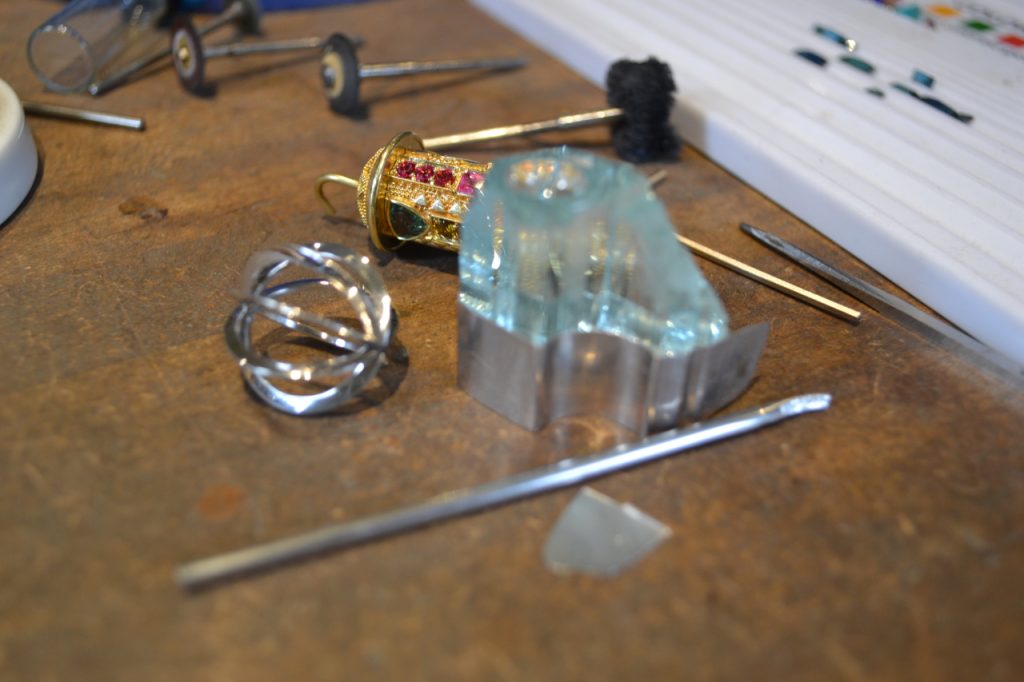
Then, the caps had to be joined together with narrow pins or tubes that were perfectly aligned top to bottom, which would be visually minimal and vertically parallel with the natural striations of the crystal.
And, finally, there was this one last, “don’t know if I can do this” challenge:
To each cap I needed to attach half of a dome-shaped cage, perfectly aligned to each other vertically top to bottom, at just the right height to accommodate the structure of the prayer wheel so that it could rotate within the cylindrical cut in the back of the aqua.
Building these caps was one of the most arduous and slow events of my entire career!
There were so many variables to consider with each step of the process that I would spend considerable time just staring and contemplating my next move. First came fitting the sides of the bottom and partial cap on top, then fitting the steps and seating the caps, slowly building in structure. I also made the many gold bezel settings for the tongues and high dome cabs, and then fabricated the corresponding horizontal platinum shelves they would be riveted to.
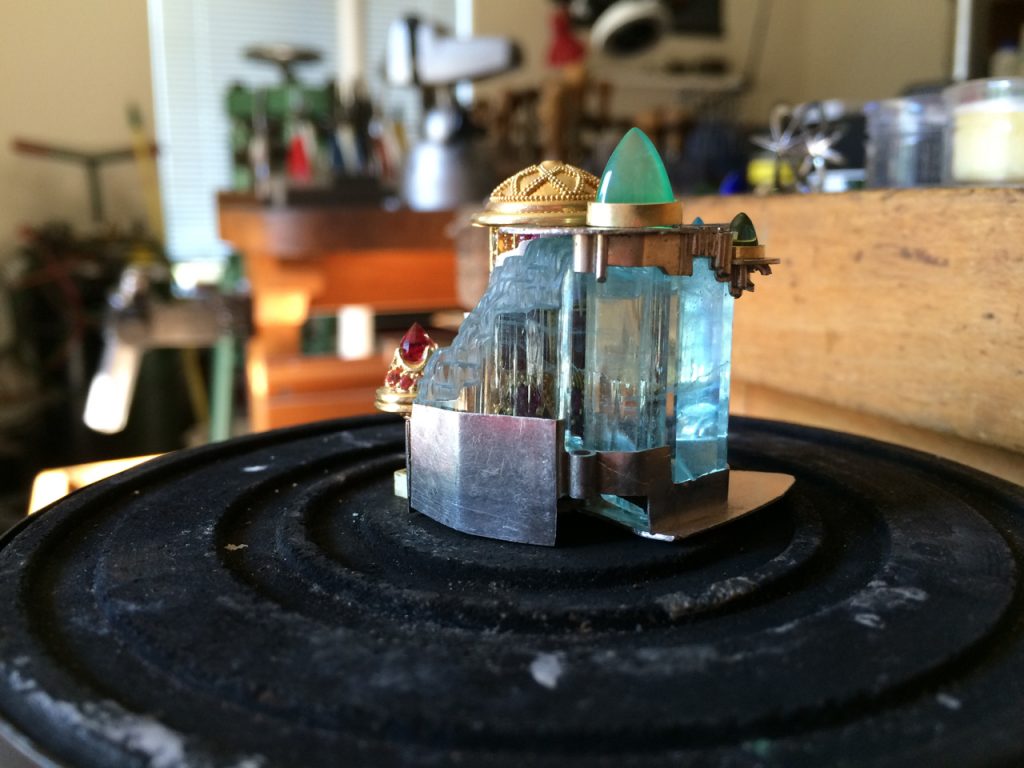
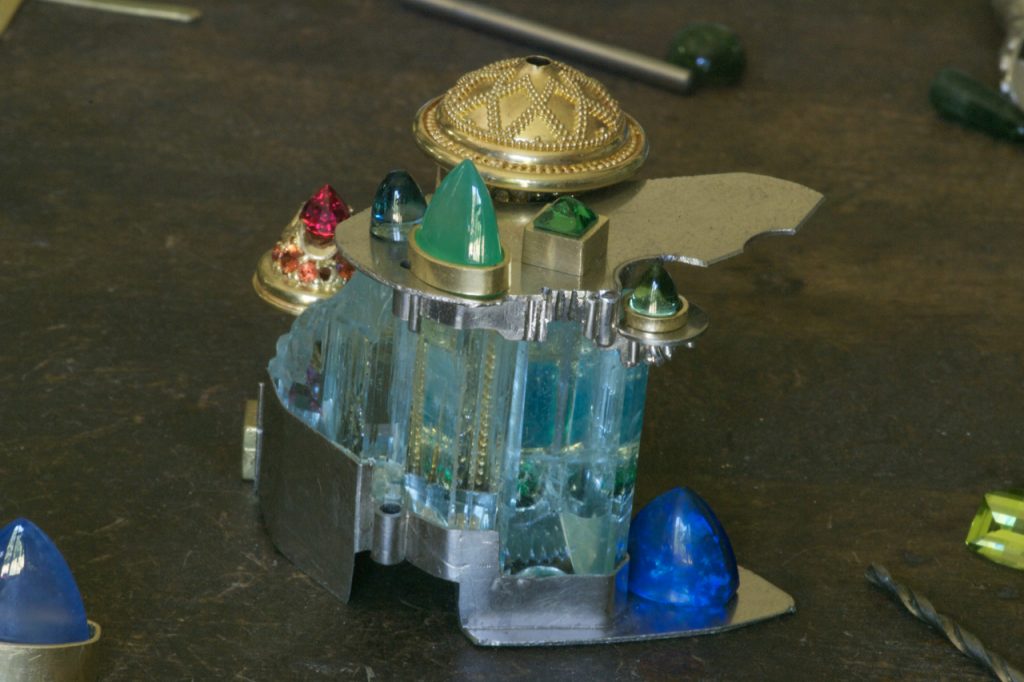
The coolest thing……
…was the cage structure for holding the spindle of the prayer wheel. In my mind, I held an image of the space/time bending structure from the movie Contact, and created a series of platinum ribs made of knife-edge wires, with the narrow sides facing out. I fashioned it as a ball structure, then, after much deliberation, cut it in half, but not exactly the same length with each rib. One rib needed to fit down just behind the waterfall on the top side, while another needed to be shorter to fit some of the horizontal shelf structures on the bottom cap.
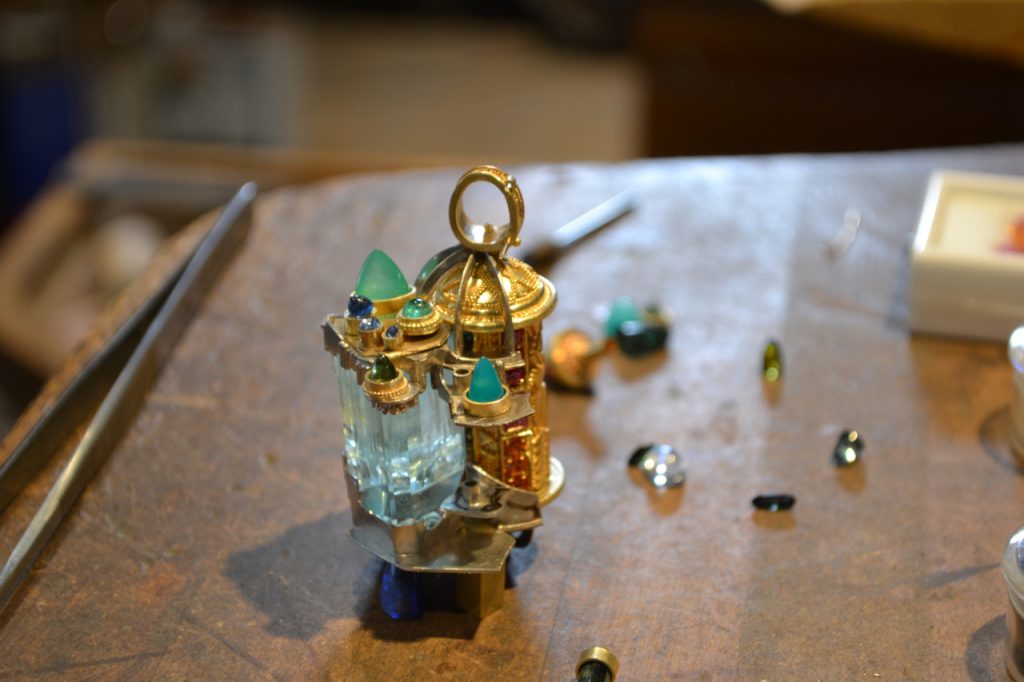
I worked on this part of the project a long, long time, and had to force myself to work at times, as it was sheer drudgery after a while. Sit, stare, contemplate, make one little addition. Repeat. Repeat again, and again….. But, eventually, something wonderful took shape……
Take me to the next post in the ‘Vanishing Illusions’ series!
______________________________________________________________________________
______________________________________________________________________________
Thanks for following our blog series! Be sure to like our Facebook page, so you don’t miss what’s happening around the Kent Raible jewelry studio! Look for Kent’s jewels in process on our Instagram page as well!
