Part 3 of 4

The Final Form – More Choices to be Made
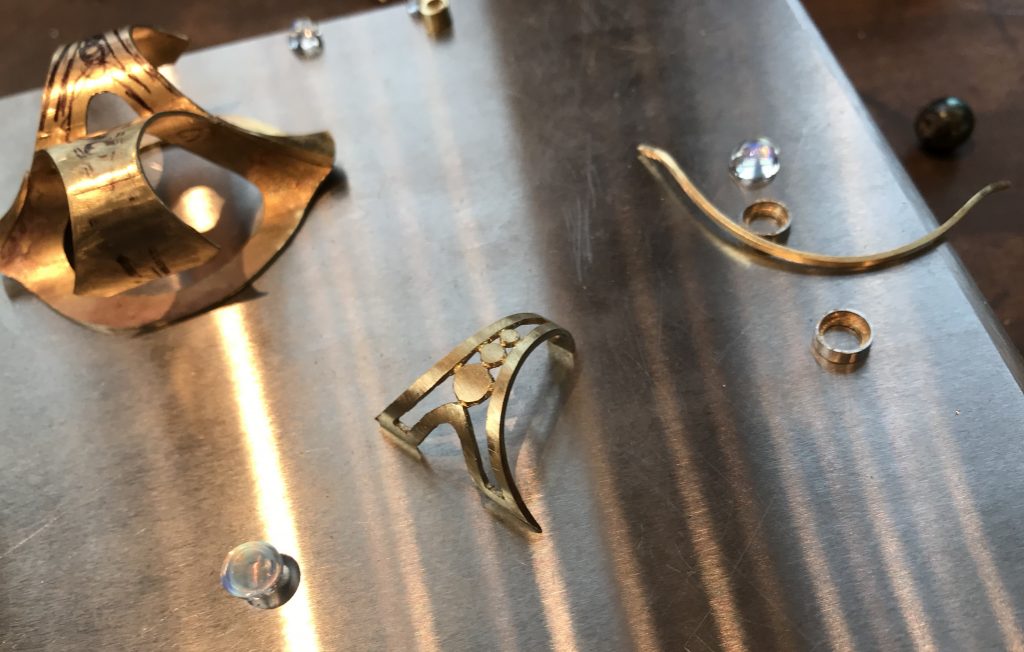
So, a very nice tapered form to the back of the double ring developed, but the cylinders in the back were still just thin metal.
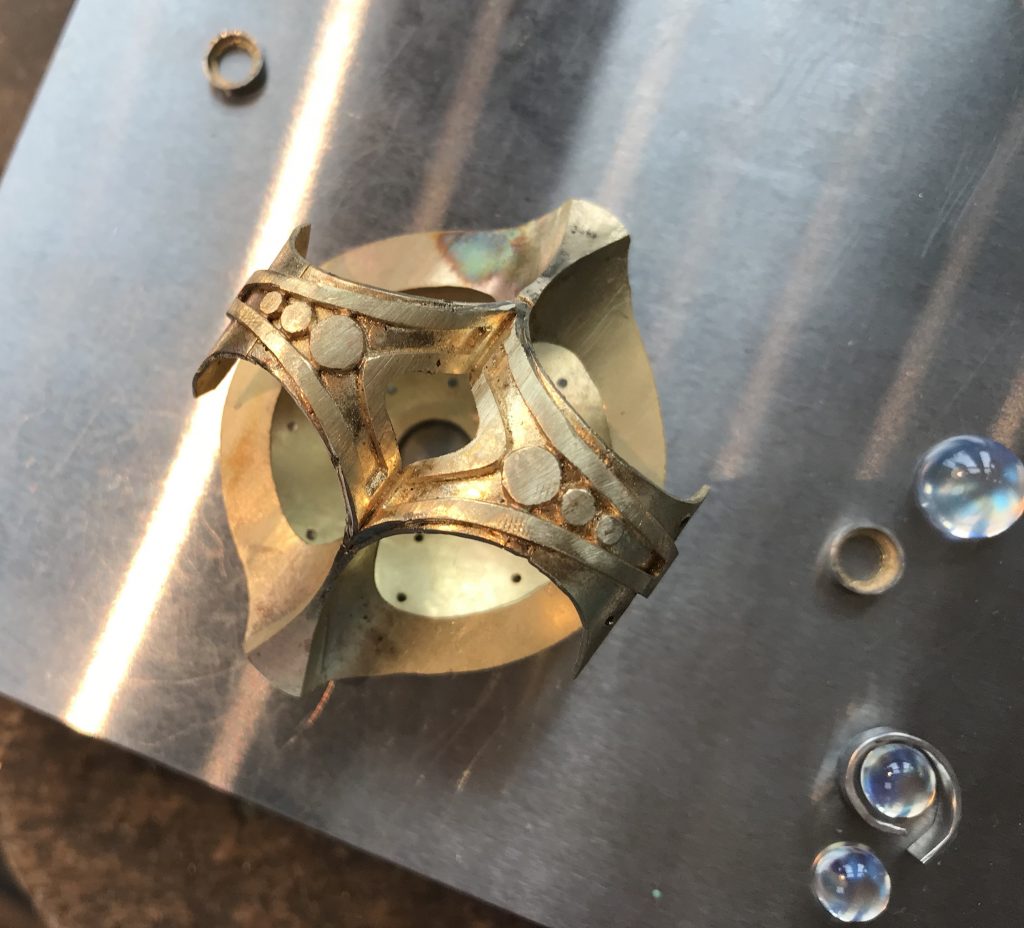
The solution I came up with, to both strengthen the metal, and provide the right design element was this: I rolled out a thick sheet of gold, bent it round to fit over the cylinders, cut out two tapered shapes from this thick metal, and then pierced out a matching dotty design for both sides, before attaching them to the original ring blank cylinders.

This finished out the back very nicely, but still left one remaining design problem, something I couldn’t have anticipated when I started….
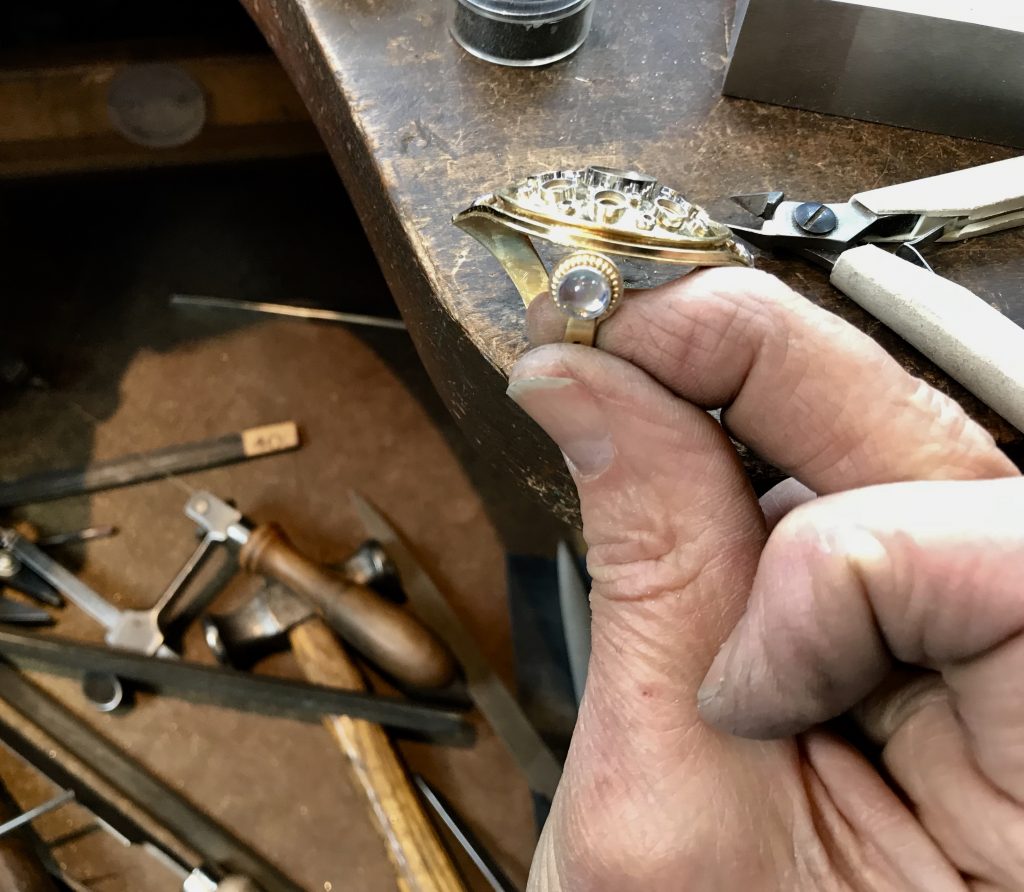
How to finish the open-ended sides that were created when I cut the ring cylinders. My solution to this was to add a 6mm moonstone finial to the end of each side of the ring! I liked this solution because it gave focal interest to the ring both looking straight down from the top, and also looking directly from the sides.

I’m ready to watch the final installment in Kent’s ‘Polka Dot Mandala’ series! Take me there!
Don’t miss out on being the first to know about new works available, events and more, sign-up to get notified today!
